Project Kwokcade spent a long time looking for one of those rare Nintendo 3DS retail displays that used to be found in stores around the world. To be honest, original units don’t show up for sale very often, and when they do, the price is just a little out of reach for most collectors, so he decided to be creative and take a new approach. Instead of waiting, he switched to 3D modeling software and began creating each component from scratch.
It all began with a little of cautious planning. He gathered all of the measurements and photos he could find online, including some extremely useful photographs given by other aficionados and footage from a collector in France. Using 3DS Max, he created a hollow digital model that could be printed at full size. He then divided the design into thirty-one individual parts, each of which would fit on a regular printer bed, and added some holes for dowels to keep everything together, as well as some threaded inserts that could accept screws later. He ensured that the walls were thin enough to save material while remaining robust enough to hold the entire structure once it was put together.
Printing was a bit of a marathon, as he plowed through spool after spool of PETG at 0.2 mm layer height, two walls, and 15% infill. Every main component simply rolled off the bed after a few days of nonstop printing. When he had a decent-sized collection of white plastic parts, he knew the true challenge had only begun. What truly mattered was getting everything aligned properly; a wobbly base would throw off the whole thing, so he double- and triple-checked every joint before deciding to basically glue things together.
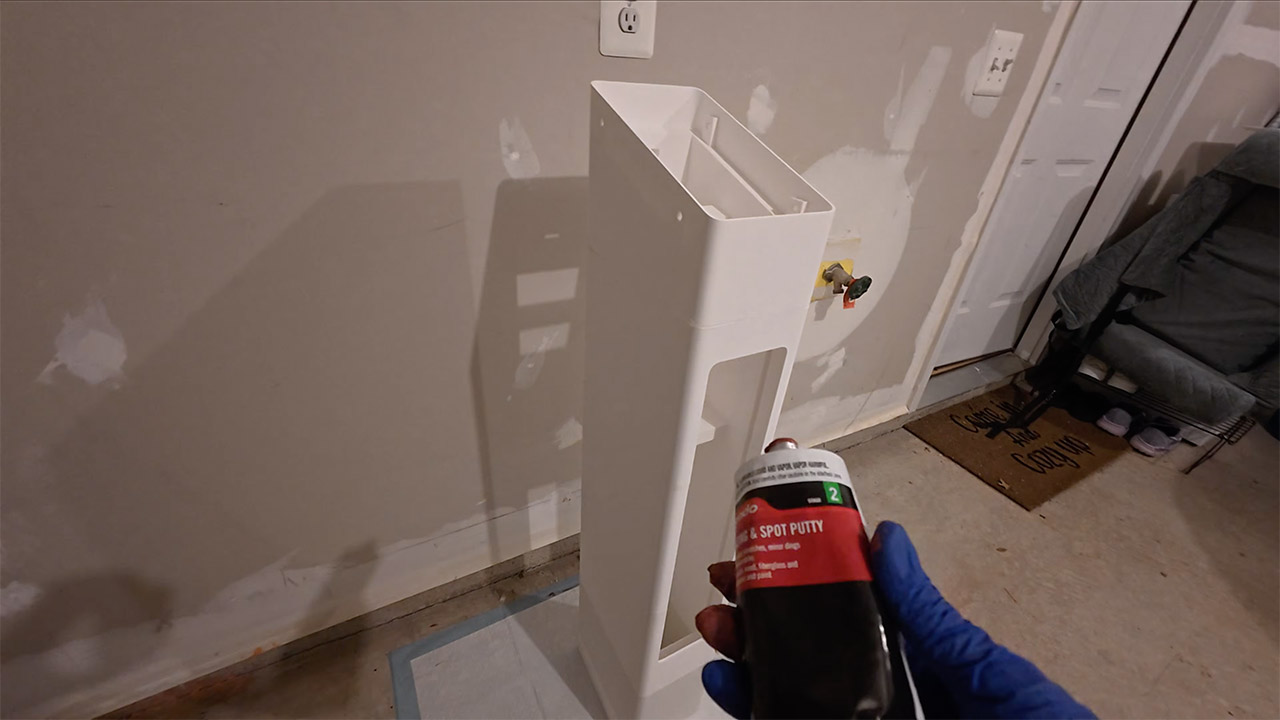
Post-processing was also time-consuming because he had to remove all of the layer lines and gaps from the print. He filled them in with Bondo glazing putty, then applied primer and sanded everything smooth. After two applications of Rustoleum paint, it looked like a legitimate retail display. The only issue was that it took a long time to complete, and if you missed a location somewhere, it would appear a mile away until the kiosk was fully assembled.
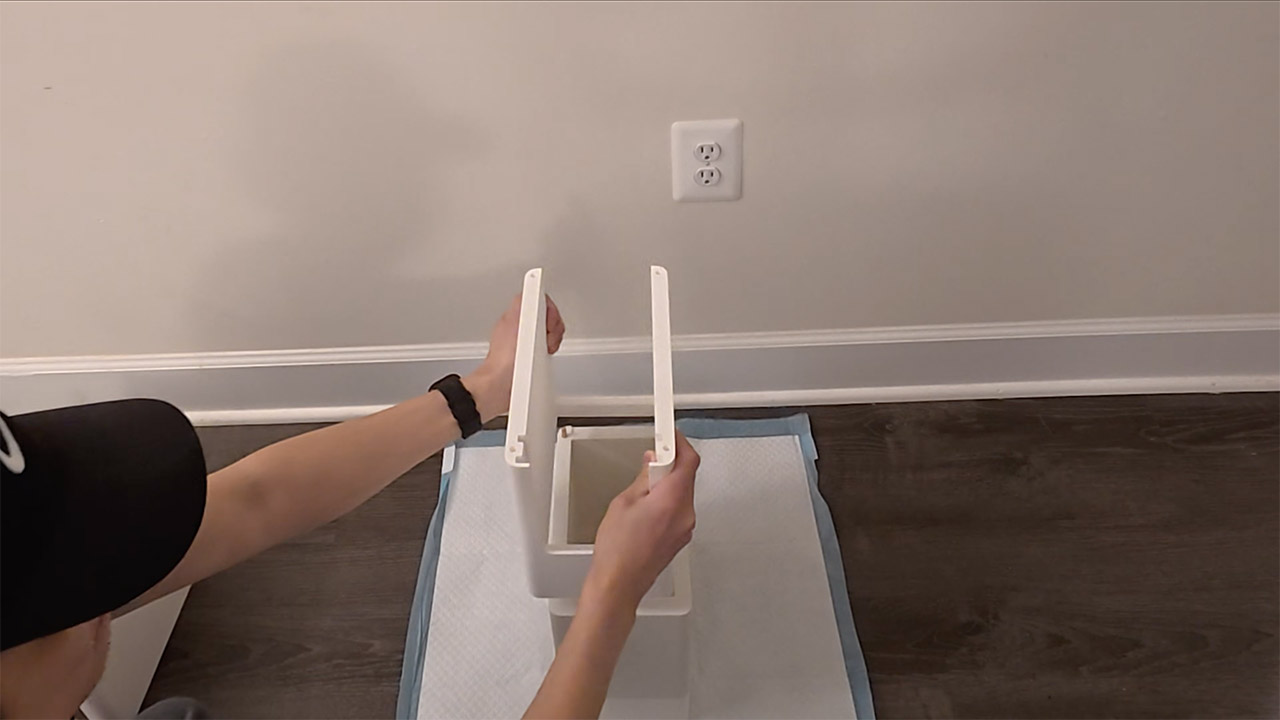
Assembly was its own special kind of fun, however getting one major portion to line up properly was a headache in and of itself. In the end, he got there, using wooden dowels to reinforce the connections and super glue to keep everything in place. He then screwed the neck & base together & the tray to the top using three different lengths of screw. He put some plastic tubing over the internal wires to conceal them, then used a hot glue gun to secure any remaining features in place. As a finishing touch, he built a little wood panel to make the base shelf, painted it to match the rest of the kiosk, and called it a day.
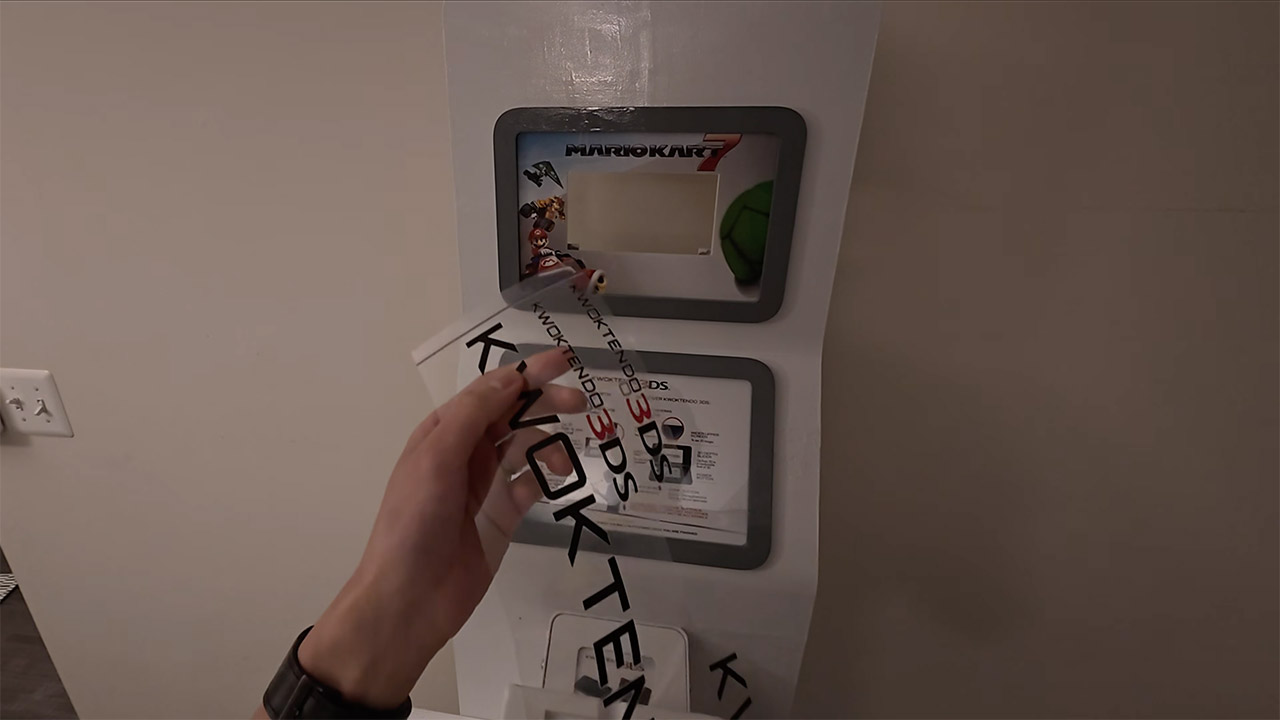
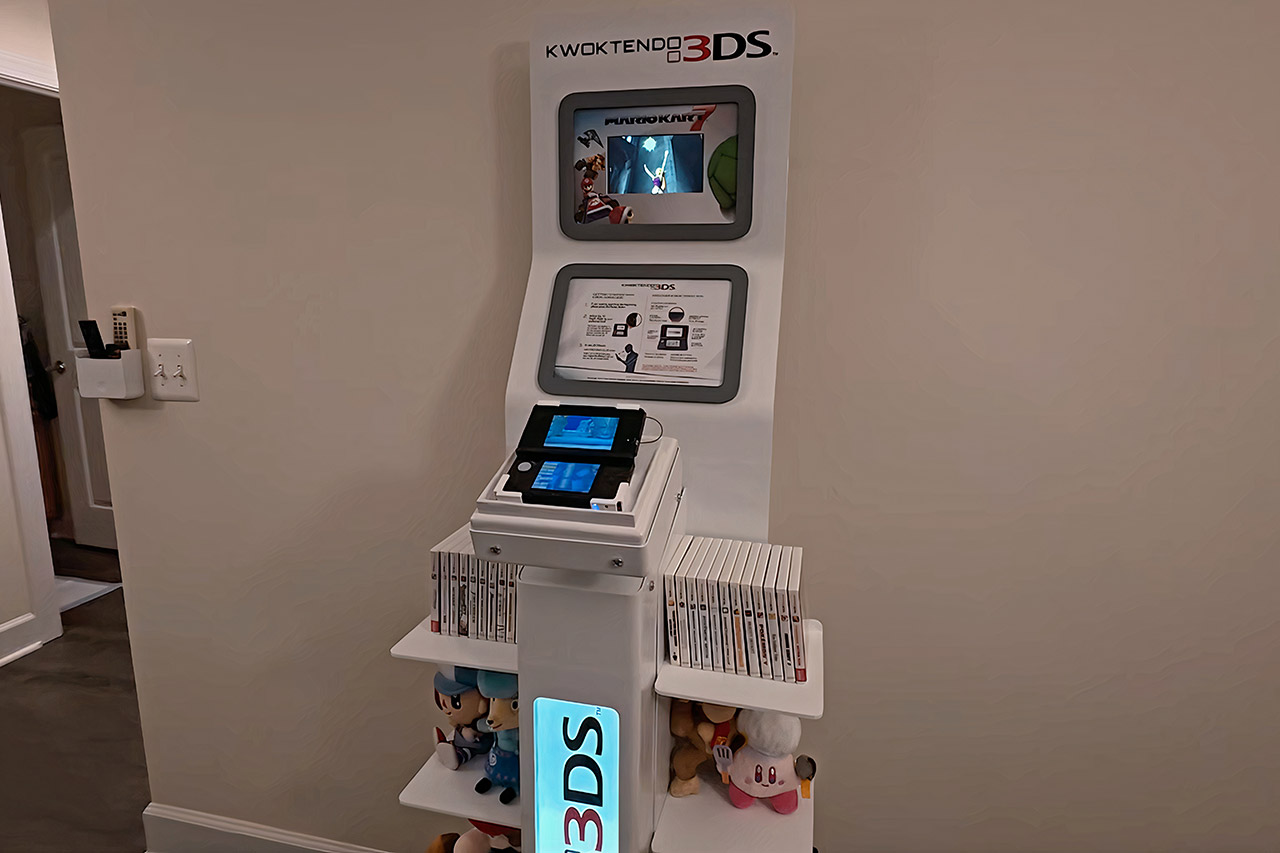
Attention is drawn to all of the elements that make this replica stand out, as well as the finer details that make it appear authentic. Three brand logos have arrived as UV DTF transfers, one for 19.5in, another for 13.5in, and a third for 5in, all of which press-fit perfectly onto the painted surface. Two large glass panels, one crystal clear and the other with a faint textured appearance from acid etching, have just been lowered into the slots in the front window. Some small plexiglass pieces were then inserted into the side apertures to create the illusion that the demo area was surrounded by protective barriers. The LED strip running inside lights up the space, which means it travels along the rear panel and through the front window glass, casting a nice soft glow similar to the original retail version. Furthermore, there is a hidden USB speaker that is ready to handle any audio needs. The cables are nicely organized thanks to a tiny strip down the back that keeps everything tidy.
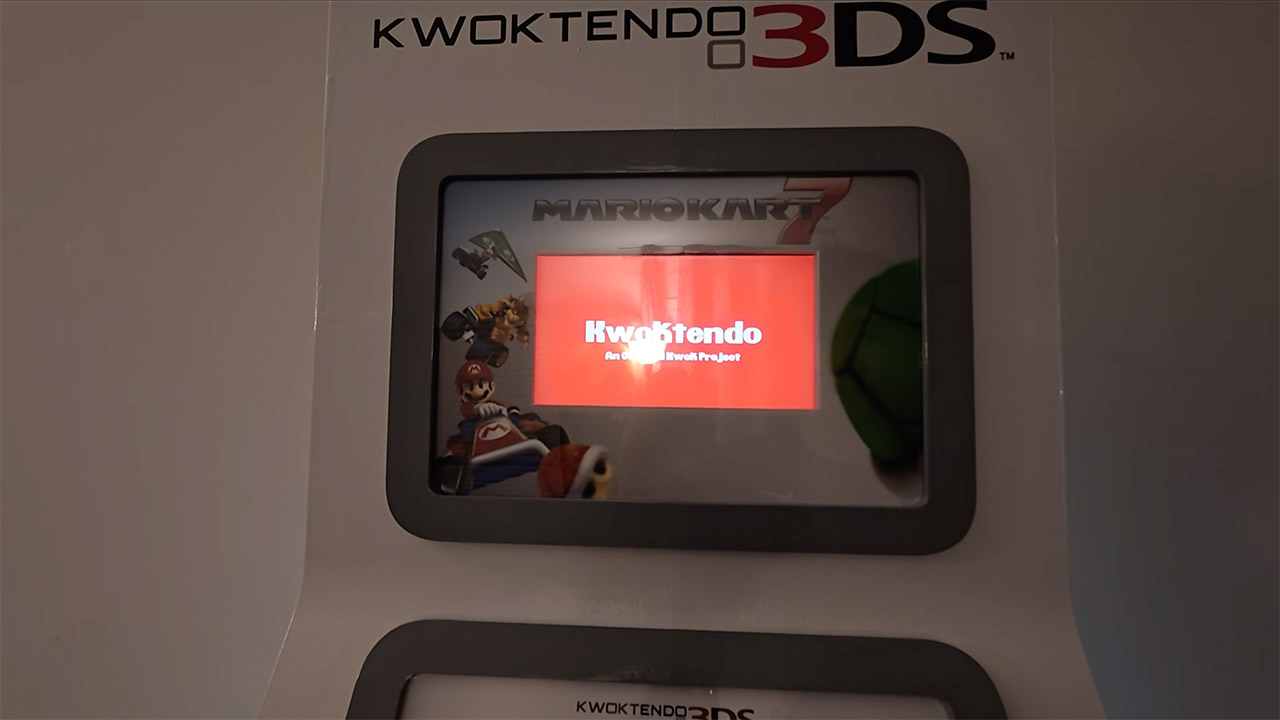
The operation is powered by a Raspberry Pi 3 or 4, which is linked with a Wisecoco seven-inch monitor. The software that powers this demo experience, including scanned cards and looped material from retailers, is stored on a microSD card. The Pi is neatly placed beneath the screen on the back panel, and the monitor is secured in a bespoke tray that was part of the original modeling. To top it off, a genuine 3DS has been inserted into the front holder, its stylus still in place and ready to be shown. Finally, everything is connected with a few cords and powers up as one unit.