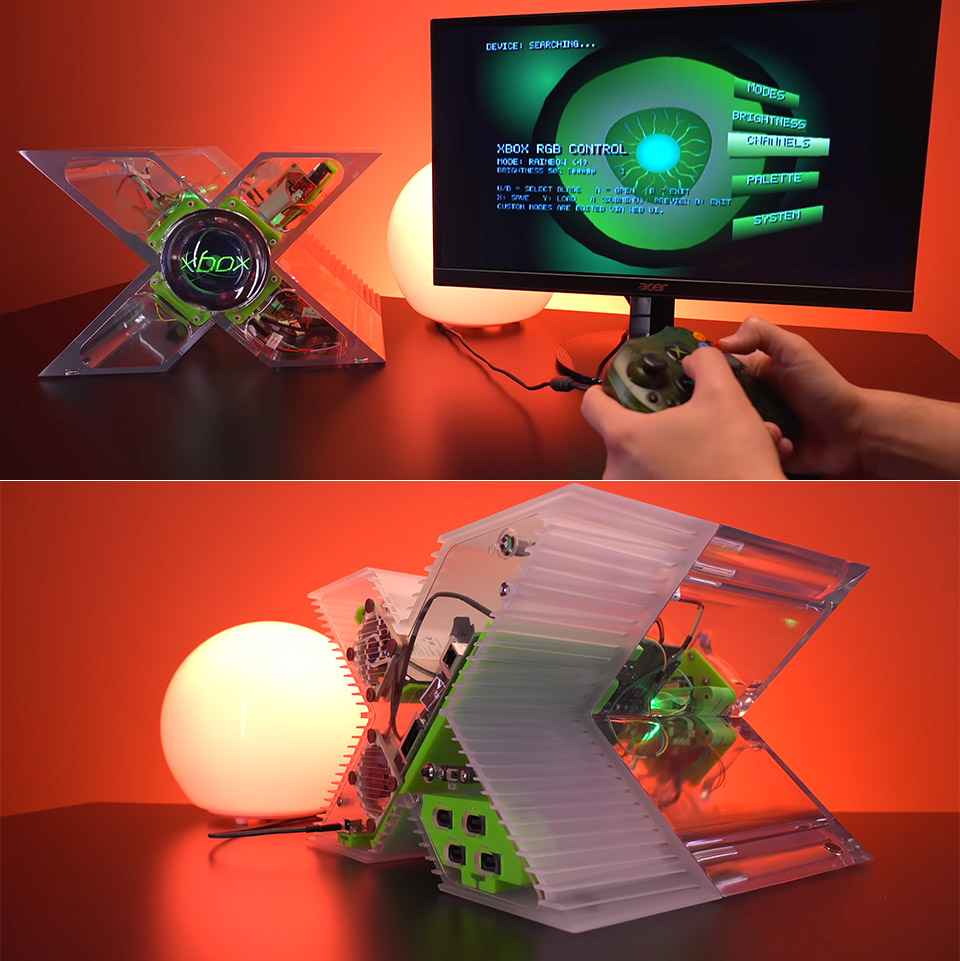
Most gamers have a foggy memory of the weird X-shaped Xbox from the early 2000s. Microsoft cobbled it together as a one-off prototype made of machined aluminum, but the actual console followed a very different path. Tito Perez, of Macho Nacho Productions, wanted to change that. His current project includes step-by-step directions so that anyone with basic equipment and an original Xbox may build their own working version in a transparent container that looks exactly like the prototype.
Tito offers two case variations as downloadable 3D models, with one version being more in line with the original prototype size and eliminating the disk drive to keep things simple and clean. The other one is slightly larger, allowing it to hold a full optical drive while retaining its distinctive X shape. Both alternatives print in clear material, giving the entire console a glassy sheen, allowing you to choose which one looks best in your environment and meets your needs before beginning printing.
Sale

ASUS ROG Xbox Ally – 7” 1080p 120Hz Touchscreen Gaming Handheld, 3-month Xbox Game Pass Premium…
- XBOX EXPERIENCE BROUGHT TO LIFE BY ROG The Xbox gaming legacy meets ROG’s decades of premium hardware design in the ROG Xbox Ally. Boot straight into…
- XBOX GAME BAR INTEGRATION Launch Game Bar with a tap of the Xbox button or play your favorite titles natively from platforms like Xbox Game Pass…
- ALL YOUR GAMES, ALL YOUR PROGRESS Powered by Windows 11, the ROG Xbox Ally gives you access to your full library of PC games from Xbox and other game…
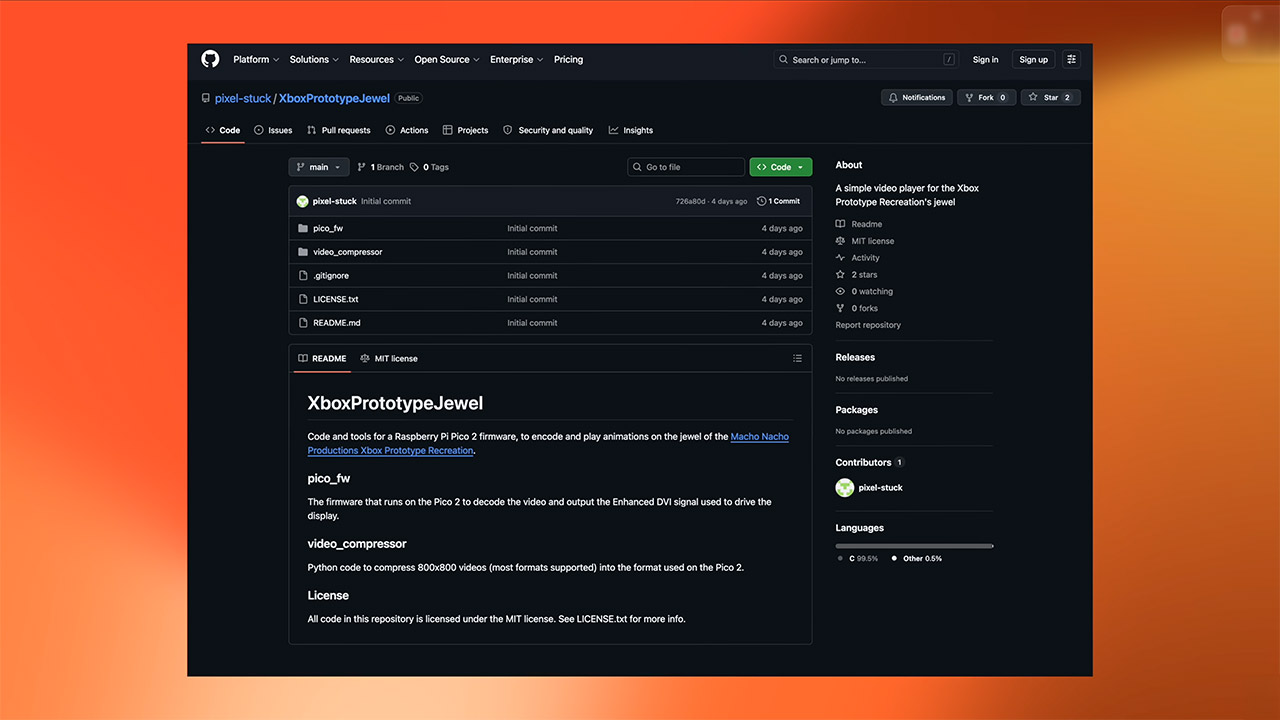
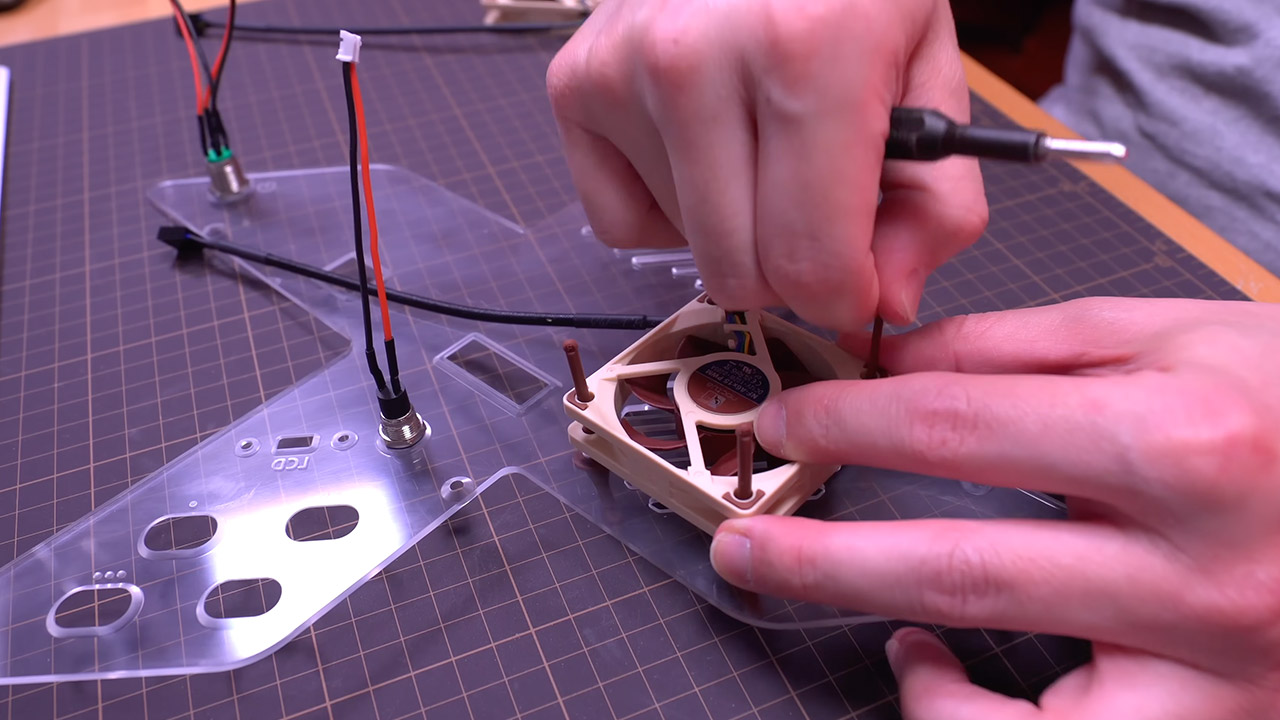
First, prepare the electronics that power the console. Tito shows you how to adjust the round LCD jewel in the center to fix the backlight. A fast lift of a few pins on the driver board allows you to regulate the backlight; then, simply hook on a short length of wire to complete the connection. The power cables are lengthened using simple JST connectors and heat-shrink tubing to keep things nice and tidy as you route them. The next step is to prepare the little Raspberry Pi Pico board, which is responsible for the jewel’s animation. You only need to attach a DVI socket to the output, solder a few connections for power and boot selection, and add a small heat sink to keep it cool while it runs.
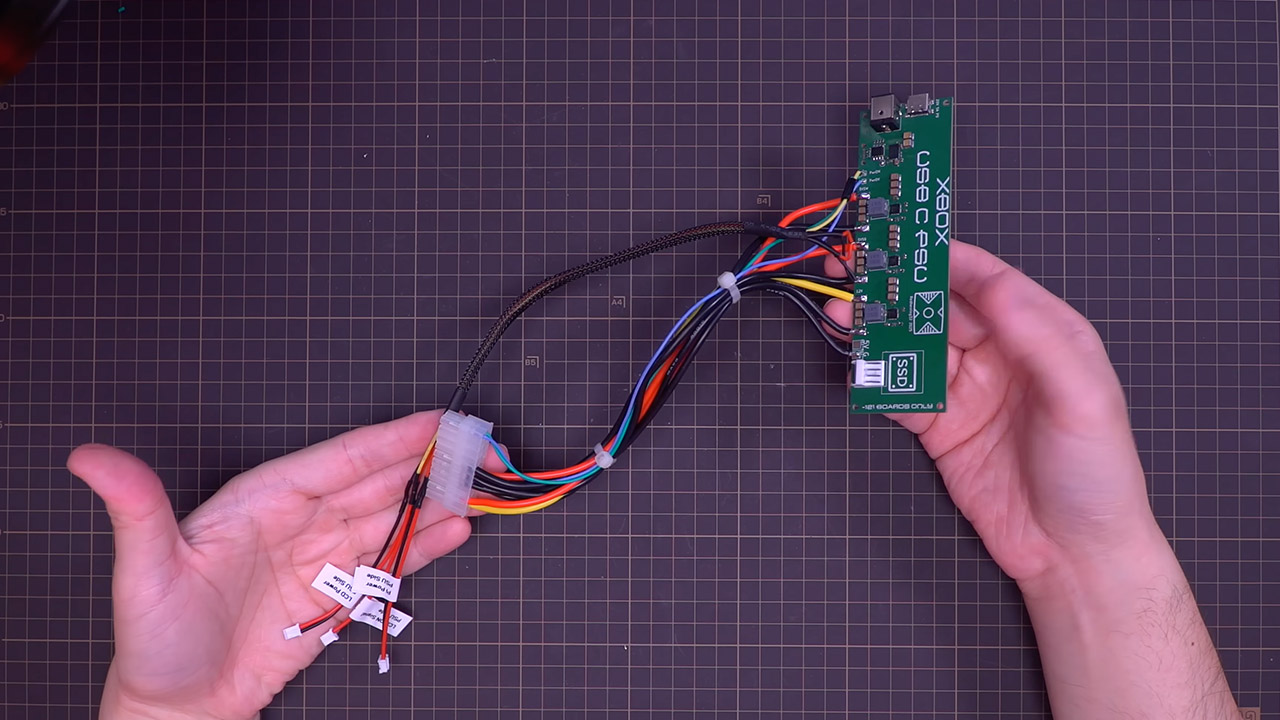
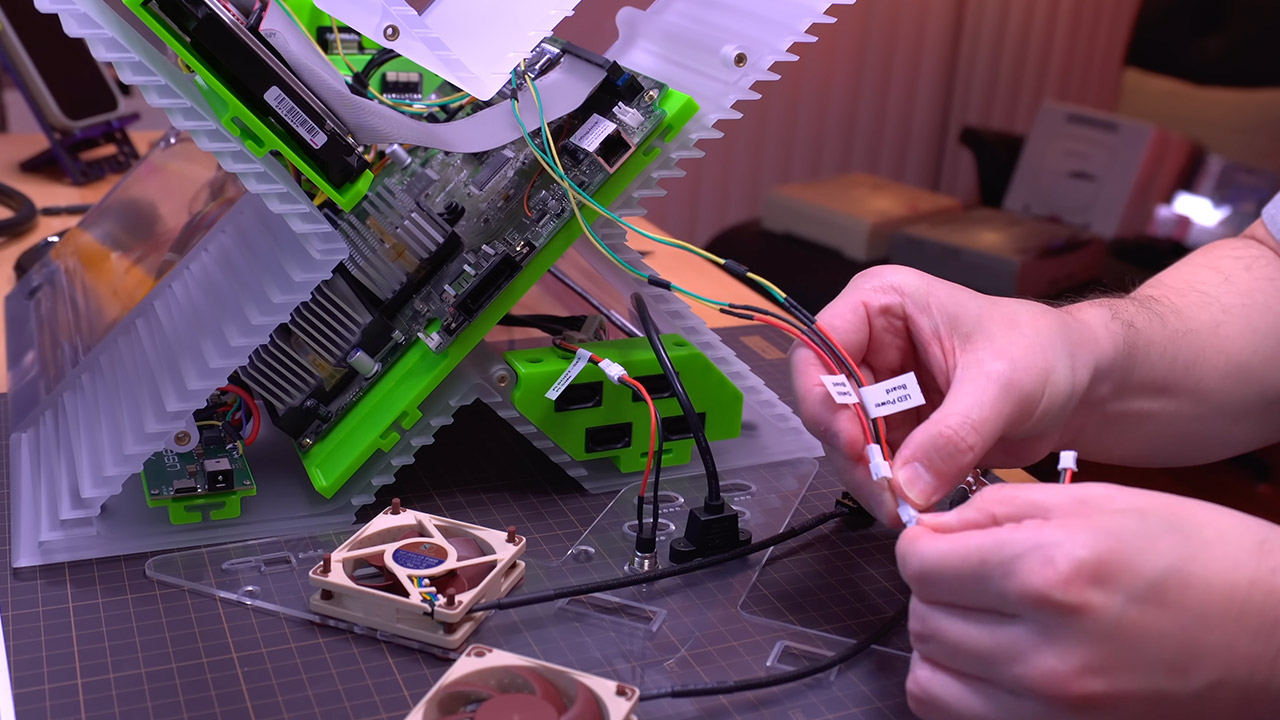
The power delivery system is also upgraded, as you can replace the previous brick with a custom USB-C supply that is either preassembled or built from scratch using open-source blueprints. Tito demonstrates how to wire a harness to supply the motherboard, the LCD, and a signal line that allows you to turn the jewel on and off from the console. He also uses the stock power and eject board, so you don’t have to worry about the original front panel controls not working, which is a significant improvement over having to guess your way through it. Mark each connection as you go so the wires don’t get muddled up later.
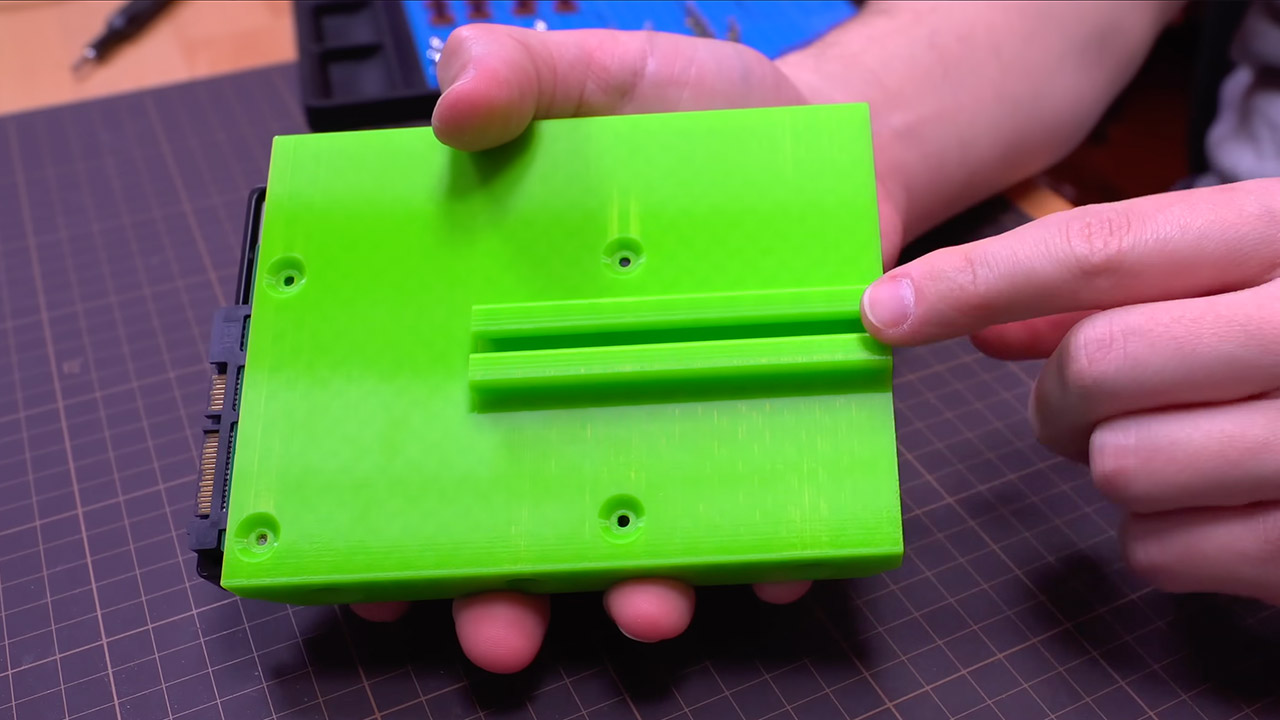
Next, the mounting brackets and internal supports are removed from the printer bed. However, the section in the center that forms the X receives special attention because it aids in keeping everything perfectly aligned. Tito installs the original Xbox motherboard using the same seven screws that came with it from the factory. Four more screws secure the LCD gem in its new position. The controller ports slide in from the bottom and down tightly, with extension cables keeping the connections neat and tidy. Finally, a hard drive, either an old 3.5 inch or a current 2.5 inch SSD, is installed; in either case, the factory hardware is used to provide storage.
The rear panel includes a number of useful functions, such as a power switch and a small button for changing the jewel animations. The two cooling fans are installed, with one sucking in cool air from the bottom and the other blasting out hot air from the top. Tito’s mounted the fans on soft pads to reduce noise and vibrations, making them very quiet. Tito connects the hard drive adapter, IDE ribbon, and power wires before fitting the entire rear end into the back half of the shell.
The next steps are simple: put the two shell parts together and lock them in place with four M6 bolts, making sure the cables are properly routed so they don’t get squeezed, and your Xbox will be standing in front of you. It’s totally functional, boots up like the original, and runs all of the games you’ve grown to know and love. If you truly want to, a small lighting kit can make the clear shell glow from the inside, along with a custom sound card to replace or reproduce the familiar startup chime.
[Source]