Even if you’ve been using a computer mouse for years, you might be missing out on some of its most useful features. From arranging windows and auto-scrolling pages to selecting files and managing tabs, the humble mouse is packed with hidden tricks you’ll wish you’d discovered sooner.
8
Snap Windows by Dragging Them
Snap Layouts is one of the best multitasking features on Windows. But you don’t have to rely on hovering over the maximize button or using keyboard shortcuts to access them. You can also simply drag app windows with your mouse to quickly snap them into position.
To do this, grab the title bar of any open window and drag it to the left or right edge of the screen. As your cursor touches the edge, a translucent outline will appear, previewing the snapped position. Release the mouse button, and the window will instantly dock to that side, filling half the screen. Then, simply select another open window to fill the other half.
If you want to access all available Snap Layouts, drag the window to the top center of the screen, and a layout grid will appear. Hover over your preferred layout option, then release the window to snap it into place. From there, you can select the remaining windows one by one to complete the layout.
By default, when you drag and drop a file with the left mouse button on Windows, it moves it to the new location. But what if you want to copy the file instead or create a shortcut? If so, there’s no need to copy and paste the item or right-click it and select Send to > Desktop (create shortcut).
Instead, use the right mouse button to drag the file. When you release it over the desired location, a small menu will appear with options like Copy here, Move here, and Create shortcut. If you’ve installed compression tools like 7-Zip or WinRAR, those will also appear on the list.
You can also select multiple items and drag them all at once with the right mouse button. I find this method quite useful when creating desktop shortcuts for several apps and programs at once.
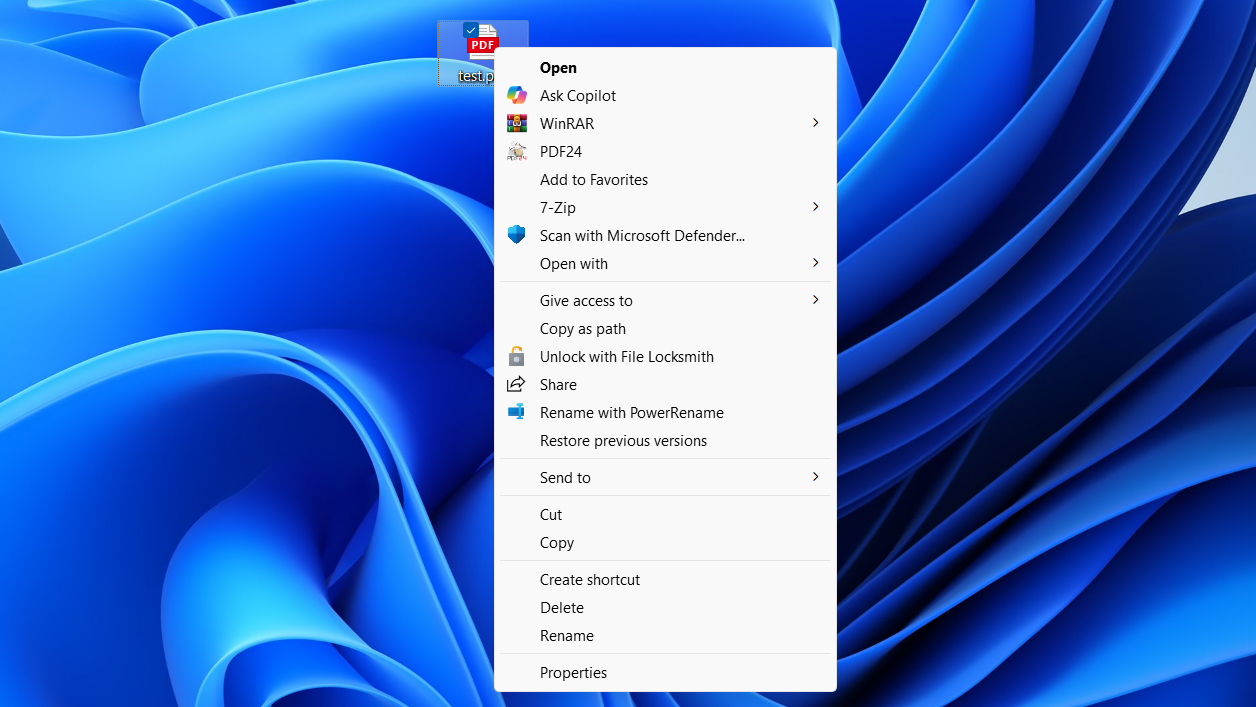
The right-click menu in Windows 11 has improved quite a bit since it first launched (or maybe I’ve gotten used to it). Still, there are times when you need to access the full classic context menu on your PC.
For instance, you might need to use options like Create shortcut, Scan with Microsoft Defender, or certain third-party app actions tucked away under Show more options.
If you’re tired of making that extra click every time, simply hold down the Shift key and then right-click the file or folder. This instantly opens the full classic context menu. This way, you can access both the old and new right-click options on Windows.
The need to scroll sideways doesn’t come up often—until it does. Maybe you’re working on a massive Excel spreadsheet, editing a timeline in a video editor, or viewing a zoomed-in webpage that spills off the edge.
In such instances, there’s no need to go search for the scroll bar. Instead, hold down the Shift key and scroll the mouse wheel. Scrolling down moves the content from left to right; scrolling up shifts it back. This trick works in most apps and browsers that support horizontal scrolling.
4
Ctrl + Click or Shift + Click to Select Multiple Files
Selecting multiple files on your PC doesn’t have to be a hassle. Windows provides two handy shortcuts that make managing batches of files quick and painless.
Ctrl + Click is useful when you need to handpick individual files. Hold down the Ctrl key and click on each file you want to select. If you accidentally include the wrong one, click it again (while still holding Ctrl) to deselect it. This method is perfect for choosing non-consecutive items or skipping over files you don’t need.
Shift + Click, on the other hand, is ideal when selecting a group of files in a row. Click the first file, hold Shift, then click the last file in the group. Windows will automatically highlight everything in between.
Once you’ve made your selection, it’s easy to move, copy, delete, or drag the group to a new location. Besides File Explorer, these mouse shortcuts also work on most apps, browsers, and even cloud services like OneDrive or Google Drive.
3
Middle-Click to Open and Close Tabs Quickly
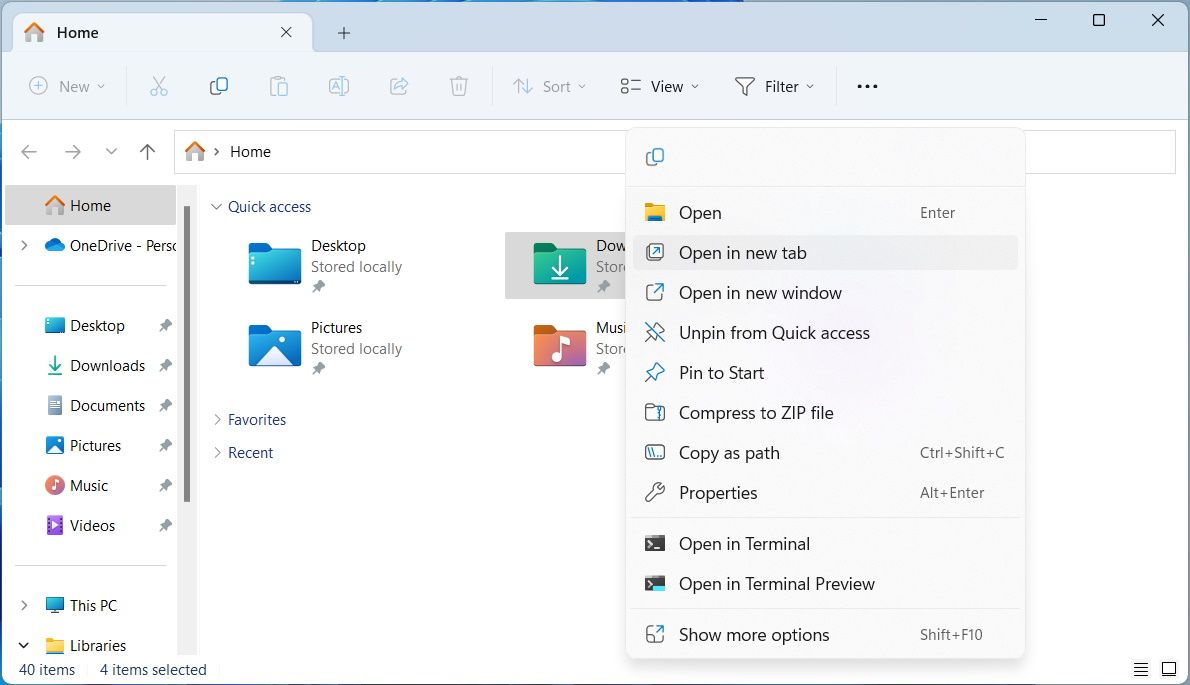
Tabs in File Explorer are a game-changer, but if you often right-click on a folder and choose Open in new tab, there’s a quicker way. Press the scroll wheel (that’s your middle-click) on any folder in File Explorer, and it will instantly open in a new tab. And if you want to close an existing tab, middle-click on its title bar.
This trick isn’t limited to File Explorer. In most web browsers, middle-clicking a link opens it in a new tab instantly—no need to hold Ctrl or right-click. And when your tab bar gets cluttered, you can middle-click on any tab title to close it, one by one. It’s a small habit that can speed things up significantly.
2
Middle-Click to Auto-Scroll Pages
Scrolling through long web pages or documents with the mouse wheel can get tiring really fast. But there’s a fix for that.
Instead of endlessly spinning the wheel, press the scroll wheel (middle-click) anywhere on the page. A small circular icon will appear, and your cursor will change to indicate auto-scroll is active.
Now, move the mouse slightly up or down, and the page will begin to scroll automatically in that direction. The farther you move the cursor from the icon, the faster the scroll.
This trick comes in handy when you want to read long documents or browse without wearing out your finger or the scroll wheel. When you’re done, click the scroll wheel again to exit auto scroll. This handy trick works in most web browsers, PDF readers, and even applications like Microsoft Word.
I prefer using auto-scroll over the read aloud option. It’s one of those features that, once you start using it, you wonder how you ever scrolled without it.
1
Customize Mouse Buttons
If you’ve splurged on a high-end mouse like the Logitech MX Master, it likely came with its own customization software. And if it did, you’re sitting on a goldmine of productivity potential.
With tools like Logitech Options, Razer Synapse, or Corsair iCUE, you can remap buttons, assign custom shortcuts, and even create app-specific profiles that change how your mouse behaves depending on what you’re doing.
For example, a side button can be set to launch your favorite app, switch virtual desktops, paste text, or mute your mic during a video call. And it gets even better if you have a mouse with extra buttons.
But even if you’re using a regular, no-frills mouse, you’re not out of luck. You can download a tool called X-Mouse Button Control (XMBC). It’s a free app that lets you remap buttons, assign keyboard functions, and create per-app profiles.
Unlike a keyboard, which offers plenty of useful shortcuts, a mouse might seem limited. In reality, though, it offers far more than just pointing and clicking. Once you get familiar with the tricks above, you’ll see how much untapped potential your mouse really has. And with customization software, it’s all about tailoring your setup to match the way you work.


